If you are looking for quick, easy, and cheap Thanksgiving crafts then you don't need to look any farther. These two turkey crafts are about as simple as you can get! The kids love them, plus it makes for an easy bridge into discussing what your children are most thankful for as we enter the holiday season!
Sponge Paint Turkey
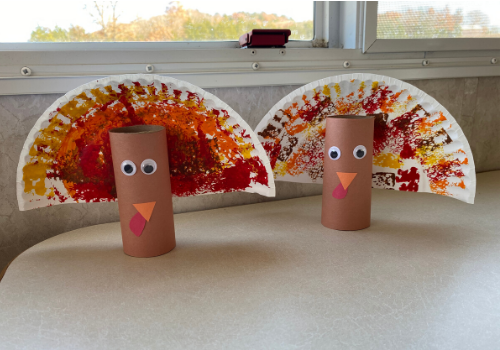
What You Need:
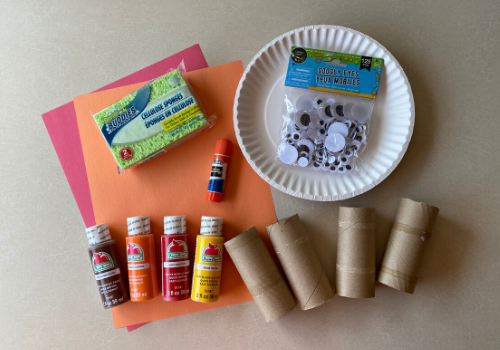
- Orange, Red, and Brown Construction Paper or Cardstock
- Paper Plates (these are 9" paper plates from Dollar Tree)
- Toilet Paper Rolls
- Googly Eyes
- Sponges
- Paint
- Glue
Instructions:
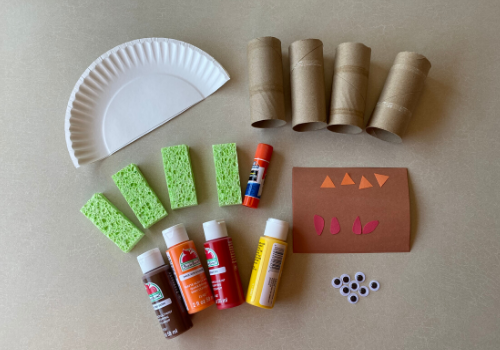
1. Prep all of your supplies (Pro Tip: Handle this step the night before you plan to start the craft. Kids aren't the most patient, am I right?)
- Cut your plates in half
- Cut your sponges into strips for easy dipping
- Cut brown rectangles to wrap your toilet paper rolls
- Glue the brown rectangles to your toilet paper rolls, clothespins come in handy to clip on while your glue dries!
- Cut orange triangles for beaks
- Cut red tear drop shape for the turkeys gobble
2. Go ahead and put a table covering down, dish out the paint on some of the extra paper plates, and let the kids get busy painting!
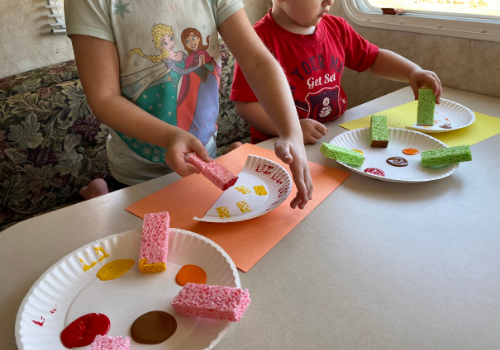
3. When the painting is finished, set them aside to dry and let them put together their turkey faces!
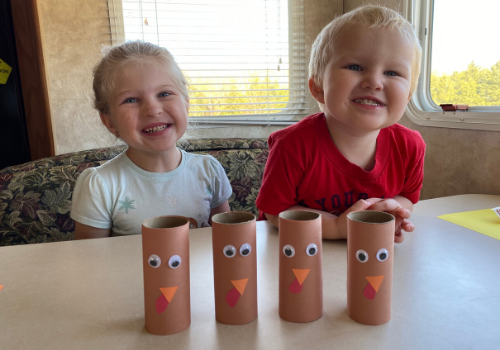
4. Once the paint and turkey faces have dried simply apply a strip of glue to the back of the toilet paper roll and stick it to the paper plate! There you have it, one easy turkey!
I'm Thankful Turkey
What you need:
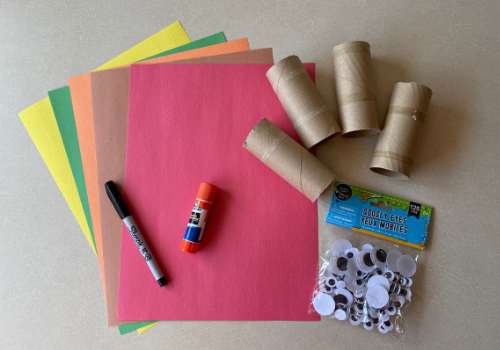
- Yellow, Green, Orange, Brown, and Red Construction Paper or Cardstock
- Marker/Pen
- Glue
- Googly Eyes
- Toilet Paper Rolls
Instructions:
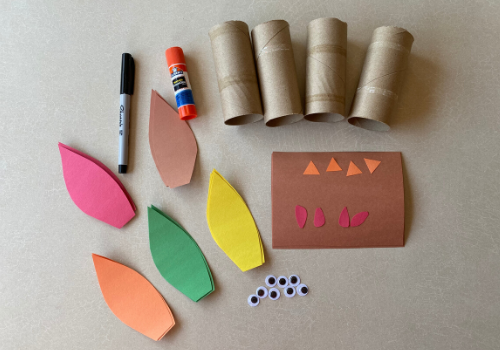
1. Prep all of your supplies
- Cut brown rectangles to wrap your toilet paper rolls
- Cut orange triangles for the turkeys beak
- Cut red tear drop shapes for the turkeys gobble
- Cut feather shapes ( I cut mine roughly the same height and width as the toilet paper roll)
- Glue the brown rectangles to your toilet paper rolls, clothespins come in handy to clip on while your glue dries!
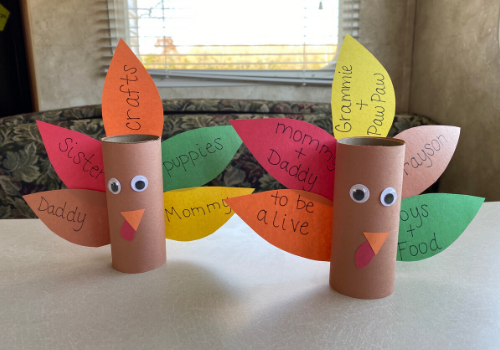
2. As your kids put the turkey faces together, begin discussing with them what they are thankful for and you can begin writing on the feathers or have them write them themselves.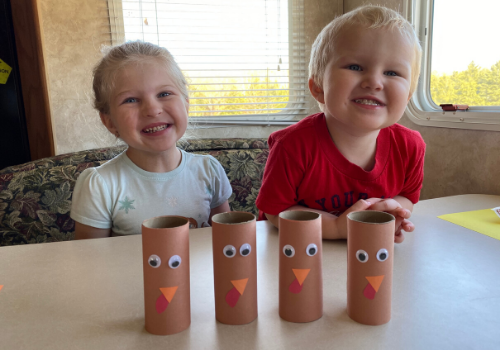
3. Once all of your feathers are written, simply glue them to the back of the turkey in a fan shape! Just like that you have a simple Thanksgiving decoration for your table!
Both of these projects can easily be manipulated to match the supplies you have on hand or to your match your child's skill set. I even considered using this as a name recognition activity by writing one letter of their name on each feather and letting them spell their name as the turkeys feather spread. Plus, it would make a super cute place card at your Thanksgiving table!
Don't forget to subscribe to our weekly newsletter for more events, crafts, recipes, and family fun for you and your kids! And check our calendar for events coming up in the Branson area!


